Scenario.
After spending the weekend wrestling with a real-world SQL Server migration, I finally got my on-premises database from a VM to Azure SQL Database using Azure Database Migration Service (DMS). This wasn’t textbook smooth — I hit connectivity issues, collation mismatches, etc., that took hours to debug. Here’s my complete battle-tested guide, including the screenshots I captured along the way.
Why I Chose Azure DMS Over Backup & Restore?
I’ve done plenty of SQL migrations with backup/restore over the years — it’s the classic sysadmin approach. But for this VM → Azure SQL Database migration, I deliberately picked Azure DMS offline mode instead. Here’s my real-world reasoning:
✅ Native SQL Server → Azure SQL schema conversion
✅ Automatic table mapping + data type handling
✅ Built-in compatibility assessment upfront
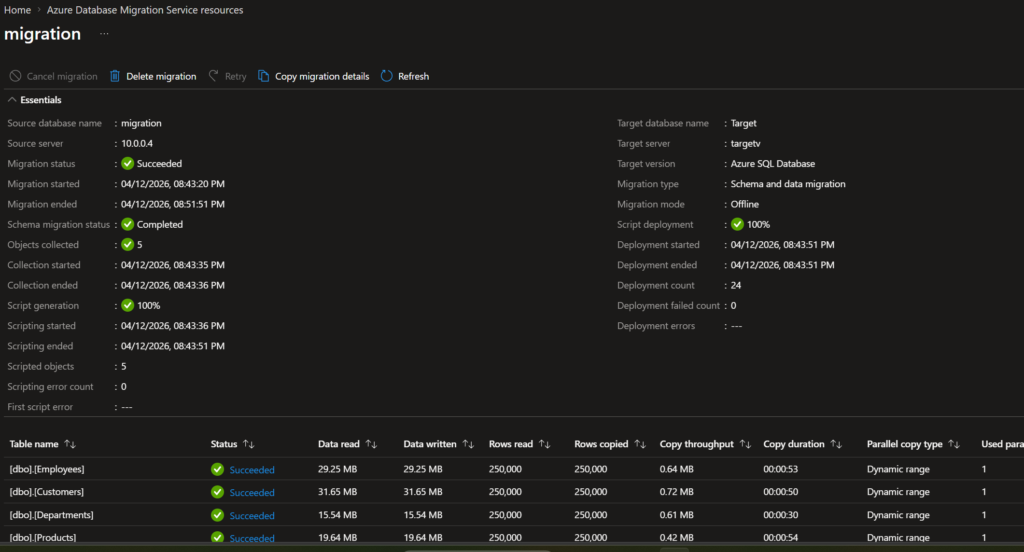
✅ Progress dashboard with row counts per table
✅ FK relationships preserved automatically
✅ One-click retry if validation fails
✅ Production-ready validation reports
Understanding Azure DMS Migration Modes: Offline vs Online
Before jumping into the actual migration steps, it’s important to understand the two migration modes Azure DMS offers. Choosing the right one upfront saves a lot of pain later — I learned this firsthand.
Offline Migration
With offline migration, application downtime starts the moment migration begins. Think of it as a full freeze — you stop your app, DMS copies the schema and data, and once the transfer completes, you point your app to the new Azure SQL target.
How it works:
1. Stop application writes to source
2. DMS copies full schema → target
3. DMS transfers all table data → target
4. Validate row counts + integrity
5. Switch app connection string → done
Online Migration
With online migration, your source database stays fully operational during the entire migration. Downtime is limited only to the final cutover moment — typically a few seconds to a few minutes.
How it works under the hood:
Phase 1 — Initial Load: DMS copies full schema + existing data to target (same as offline, source still running).
Phase 2 — Change Data Capture (CDC): DMS reads source transaction log continuously. Every INSERT, UPDATE, DELETE replicated to target
Source and target stay in near real-time sync. Continues migration until cut-over.
Phase 3 — Cut-over: You stop app writes.
Replicate final transactions.
Switch connection string → seconds of downtime.
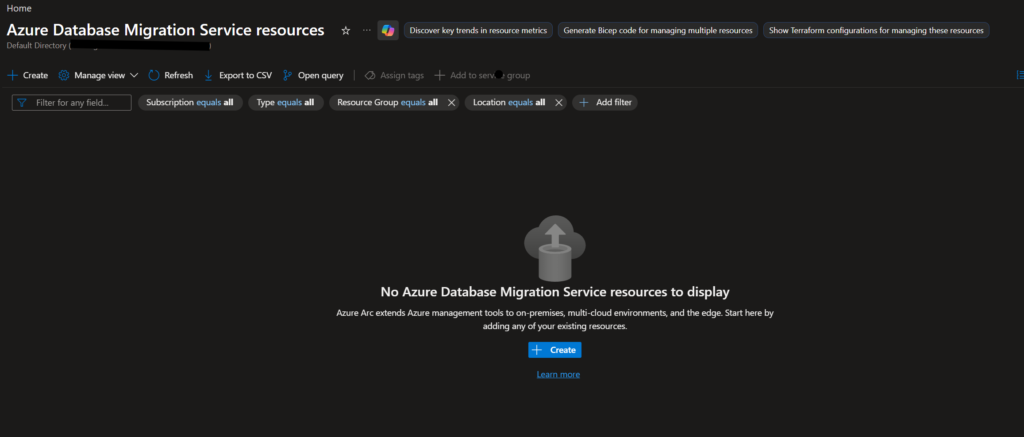
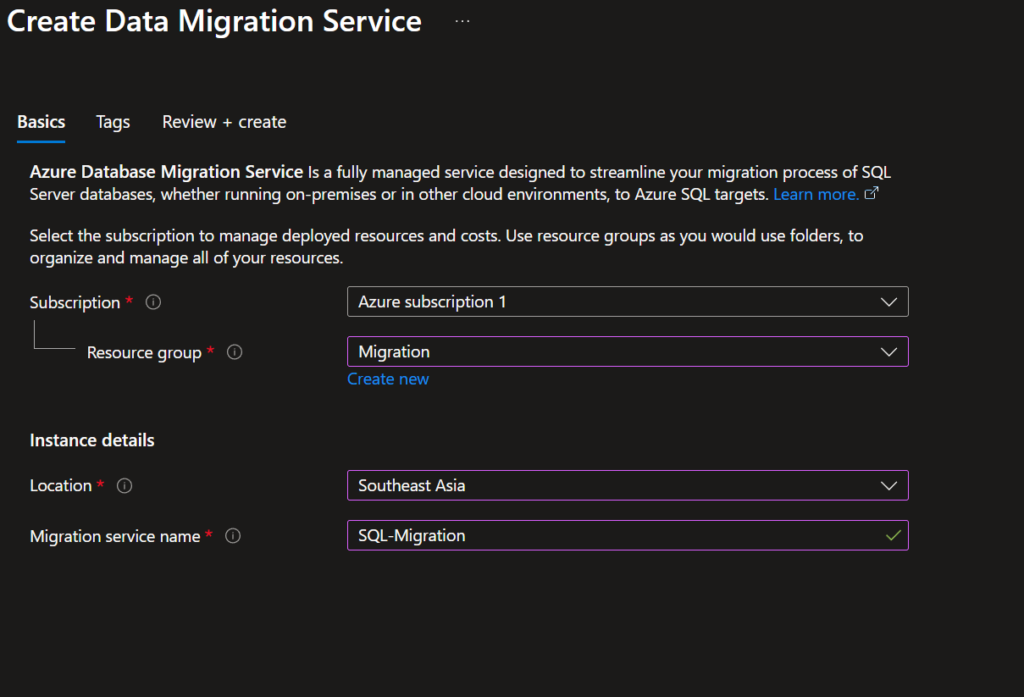
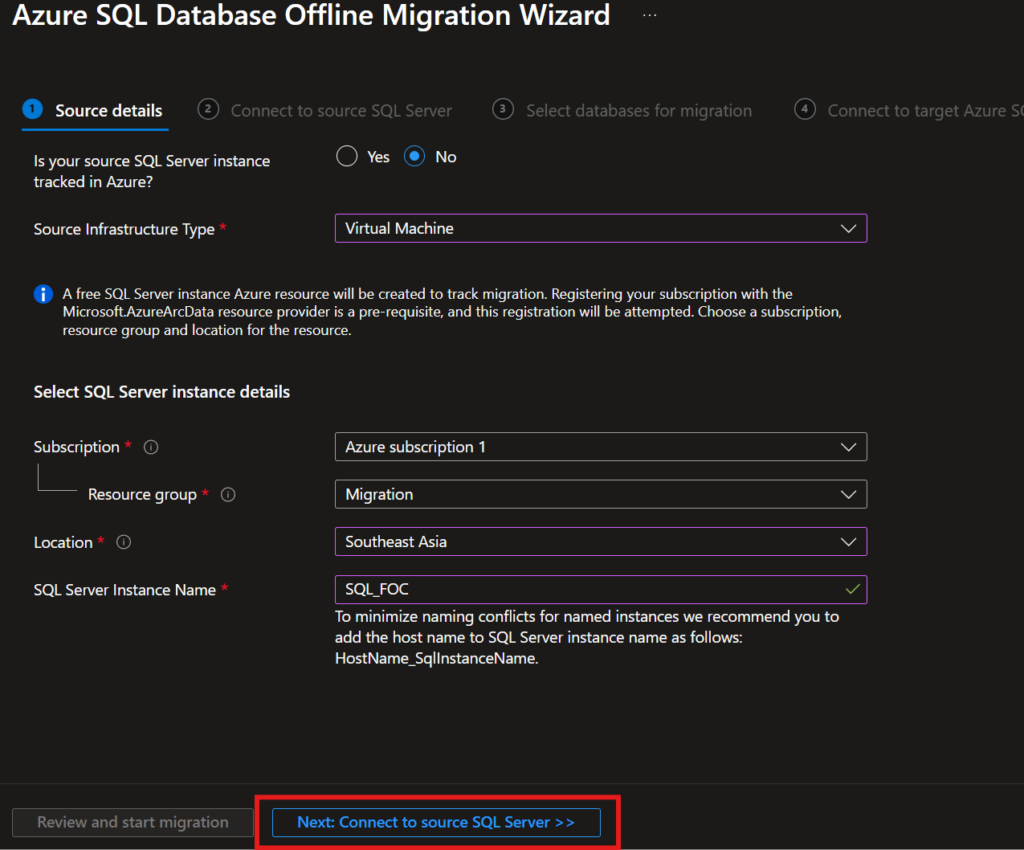
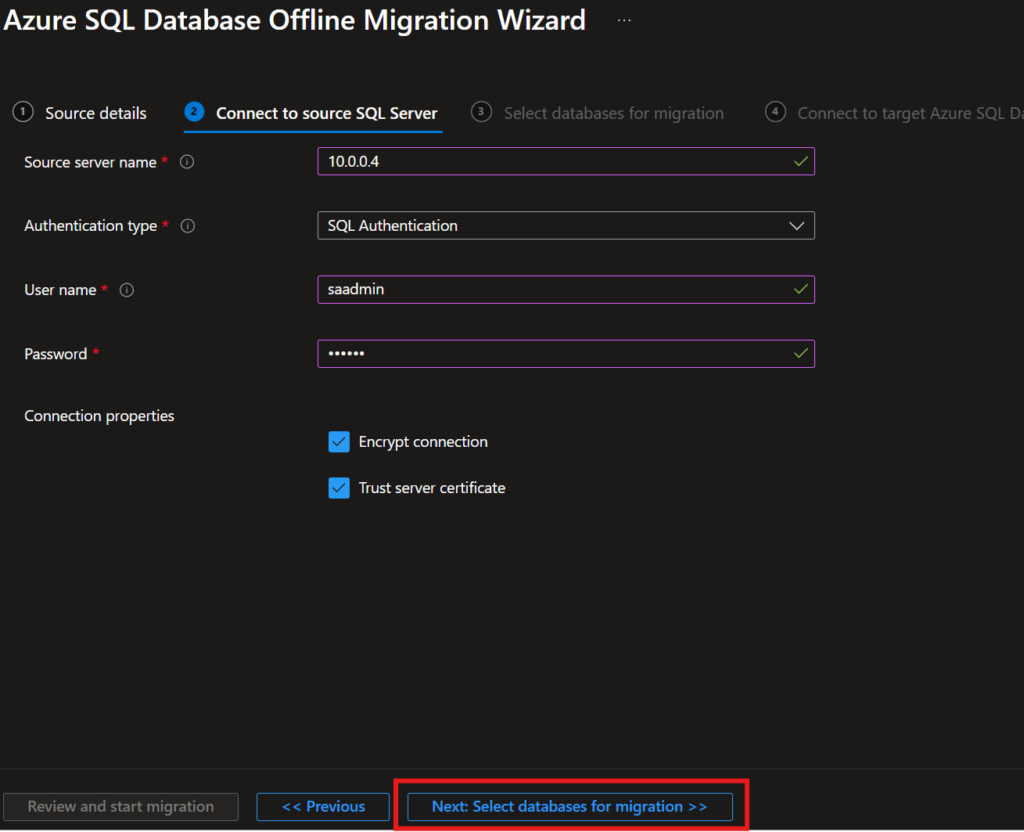
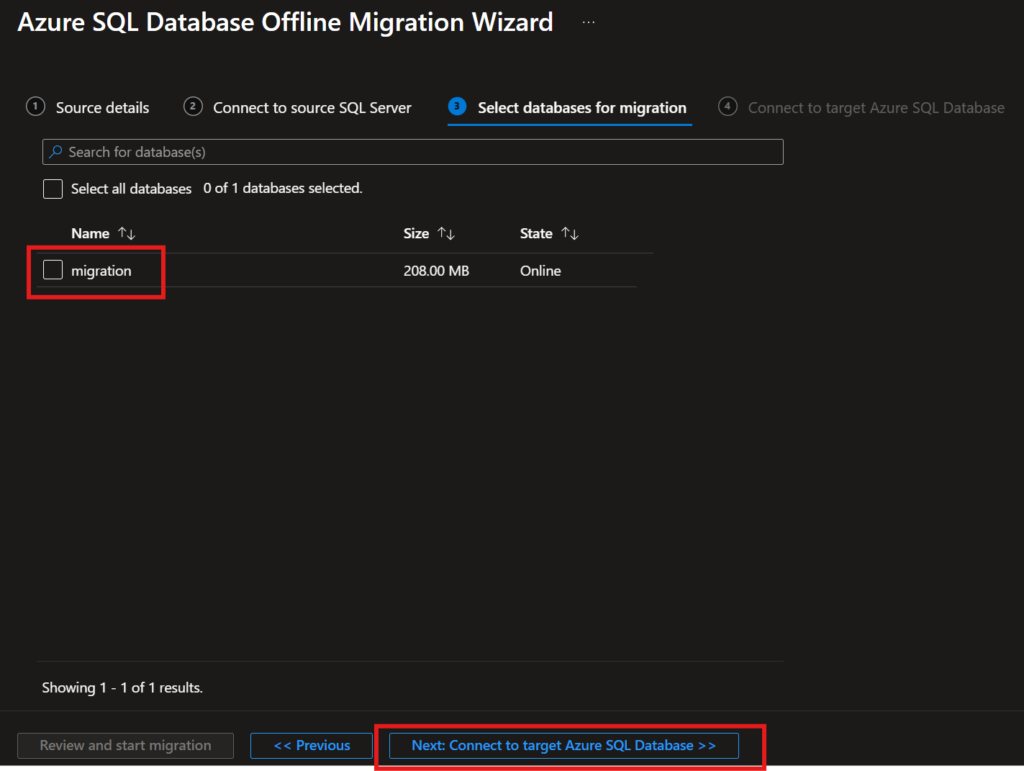
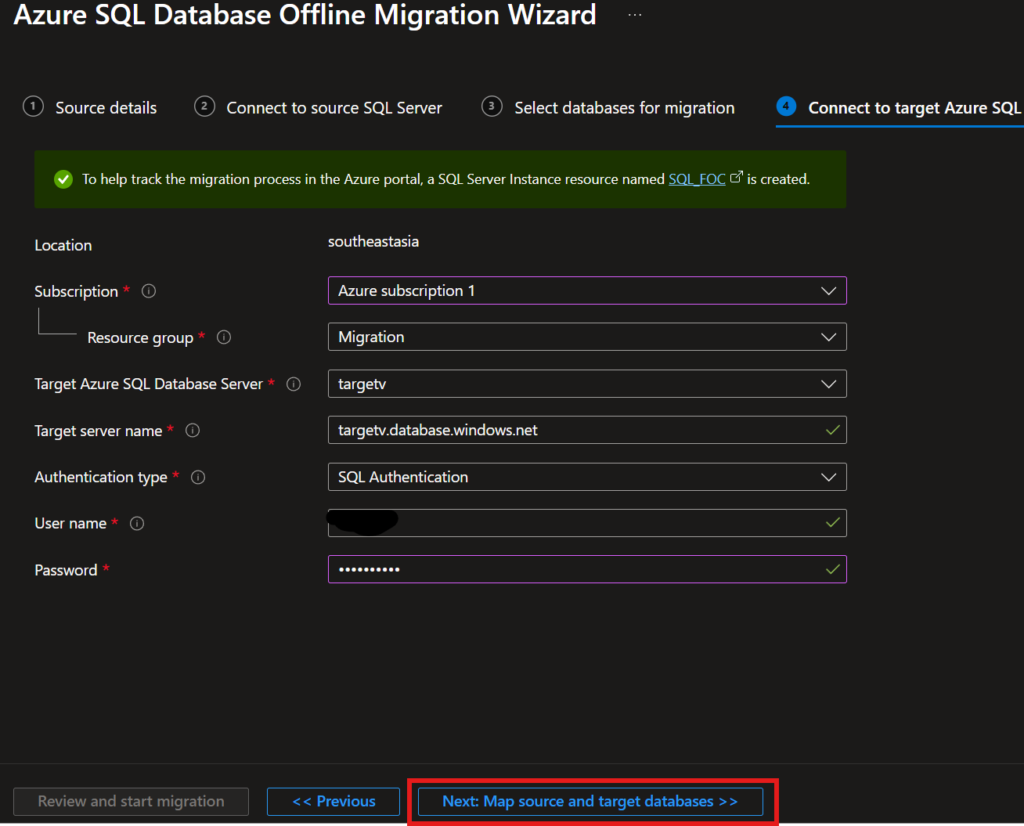
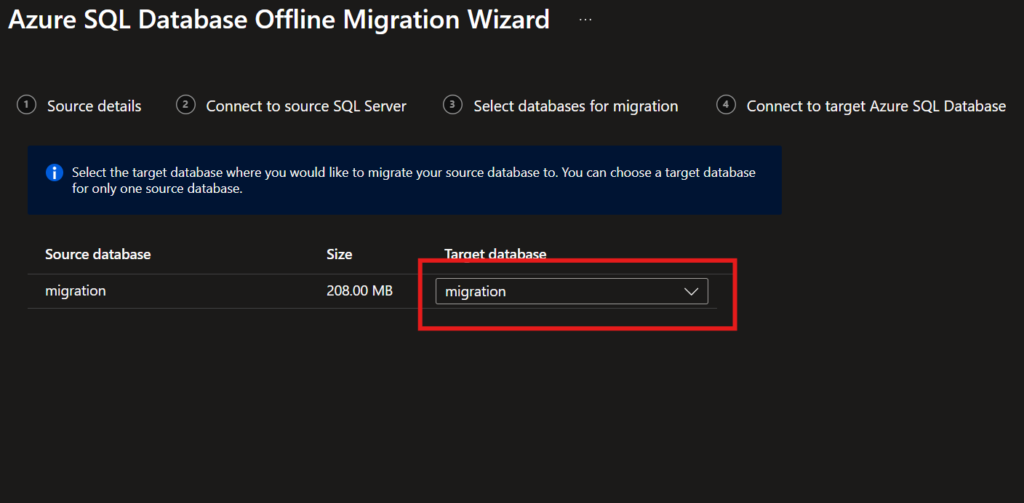
How to perform migration?
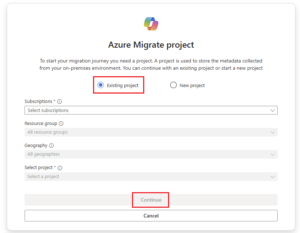
- Create Azure Database Migration Service.